How to Sew a Padded Hem.
Take your skirts from limp and boring to dramatic and full of body by using this period tailoring technique: padded hems!
So, for the longest time, when I would build a new dress, the majority of my time was spent on the bodice and the pleating. By the time I got to the skirt, everything was quick and dirty. Just cut out a couple widths of fabric the length I needed, sew on the guards, hem and attach. But, I was never truly happy with how the skirt would hang in the end. I felt like I had too much fabric at the waist and the hang just didn’t jive with voluminous, dramatic skirts depicted in period portraiture. So, I started investigating and discovered several period examples where additional tailoring methods were used along the hems of skirts to give the added support and body to help the skirts stand away from the body and create that pleasing silhouette.

I first noticed the tailored hem in Janet Arnold’s Patterns of Fashion. She goes into great detail about how the hem of the Eleanor of Toledo gown was constructed (page 41). The hem is finished with a 8cm bias cut piece of satin facing, of which 3mm was left to show at the bottom. Sandwiched inside this facing is a piece of wool felt interfacing 38mm wide. The diagram is excellent and shows where the stitching is and how wide everything is.
Interfacing in the hem shows up again on page 44 in the woman’s kirtle, this time it is a pink linen. The dress on page 44 has a bound hem, although there is no mention of interfacing. Then on page 55, Arnold details a hemline with interfacing of linen canvas and facing of wool. Finally, the dress on page 56 is stiffened with linen or buckram behind a pink silk taffeta lining.
Then something else came to my mind…the Mary of Hungary gown (detailed by here by Cynthia Virtue). I have always loved the little detail of the darker green strip at the hem, but I had always assumed it was there to protect the hem. But when I went back and looked again, I was convinced that what we are seeing is a padded hem. I have tried to find more evidence and information about the hem, but to no avail. But, the strip at the bottom and the way the folds of the hem fall make me 99% sure that it is a padded hem.
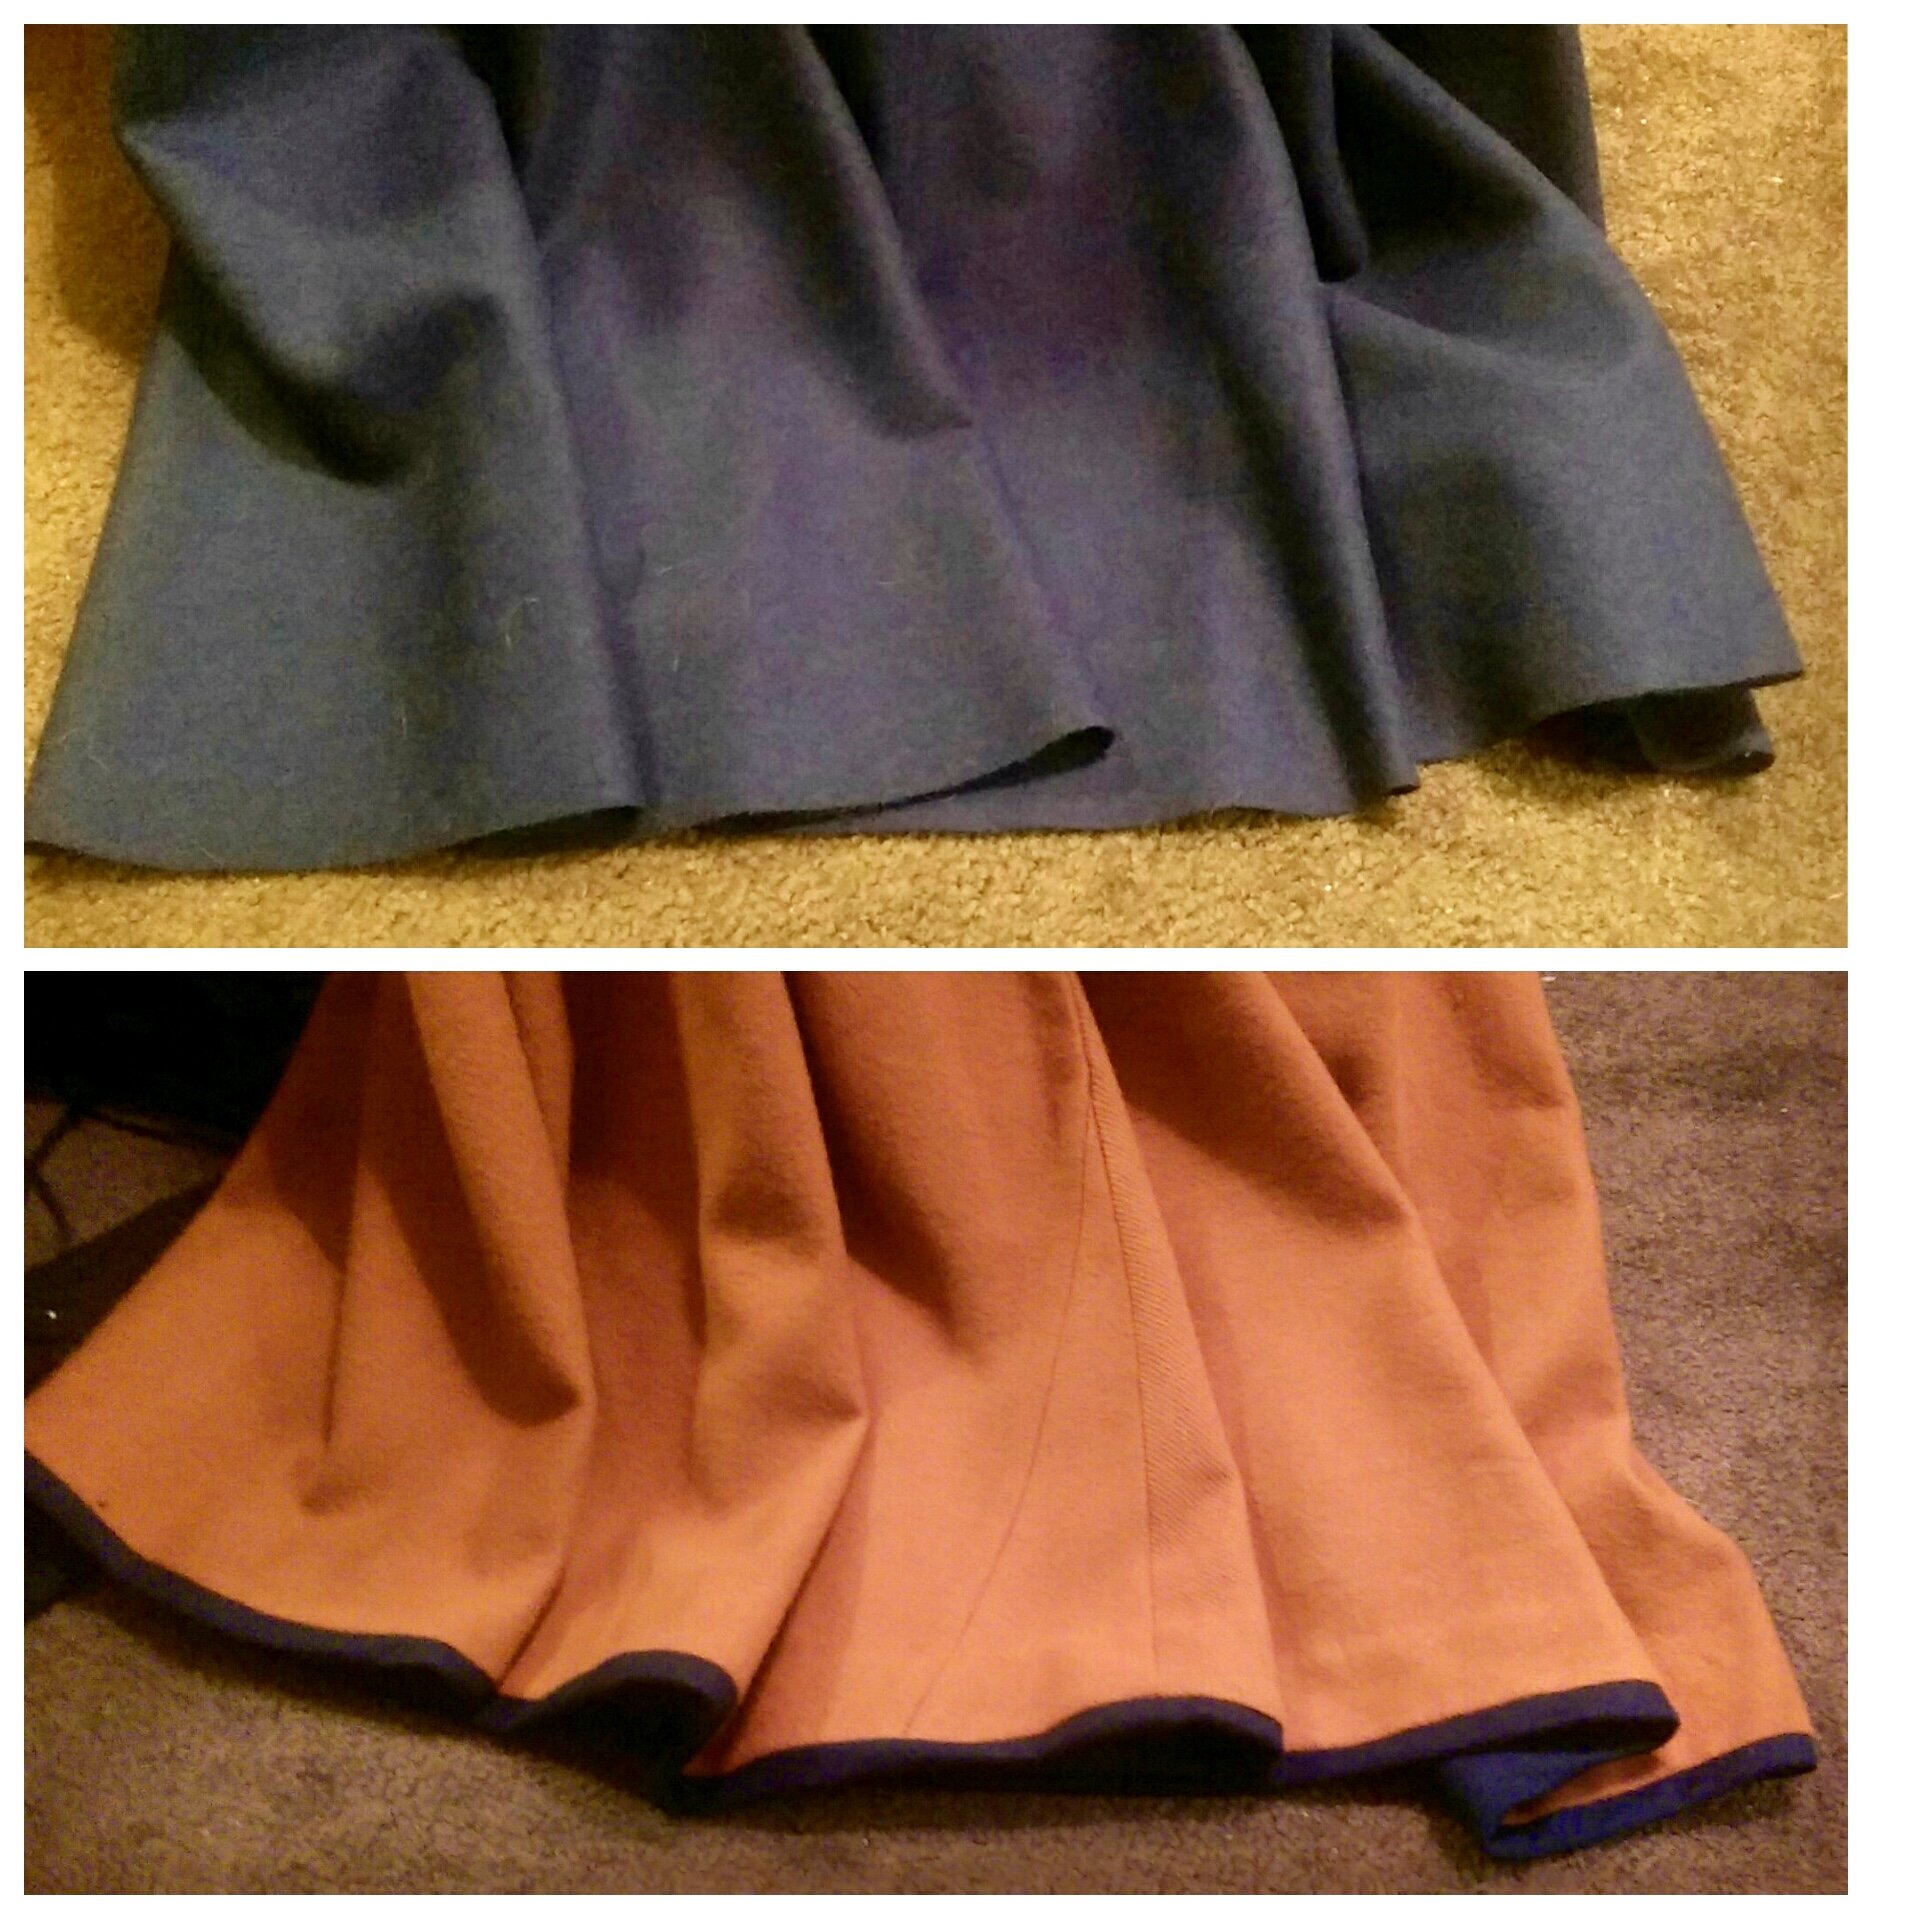
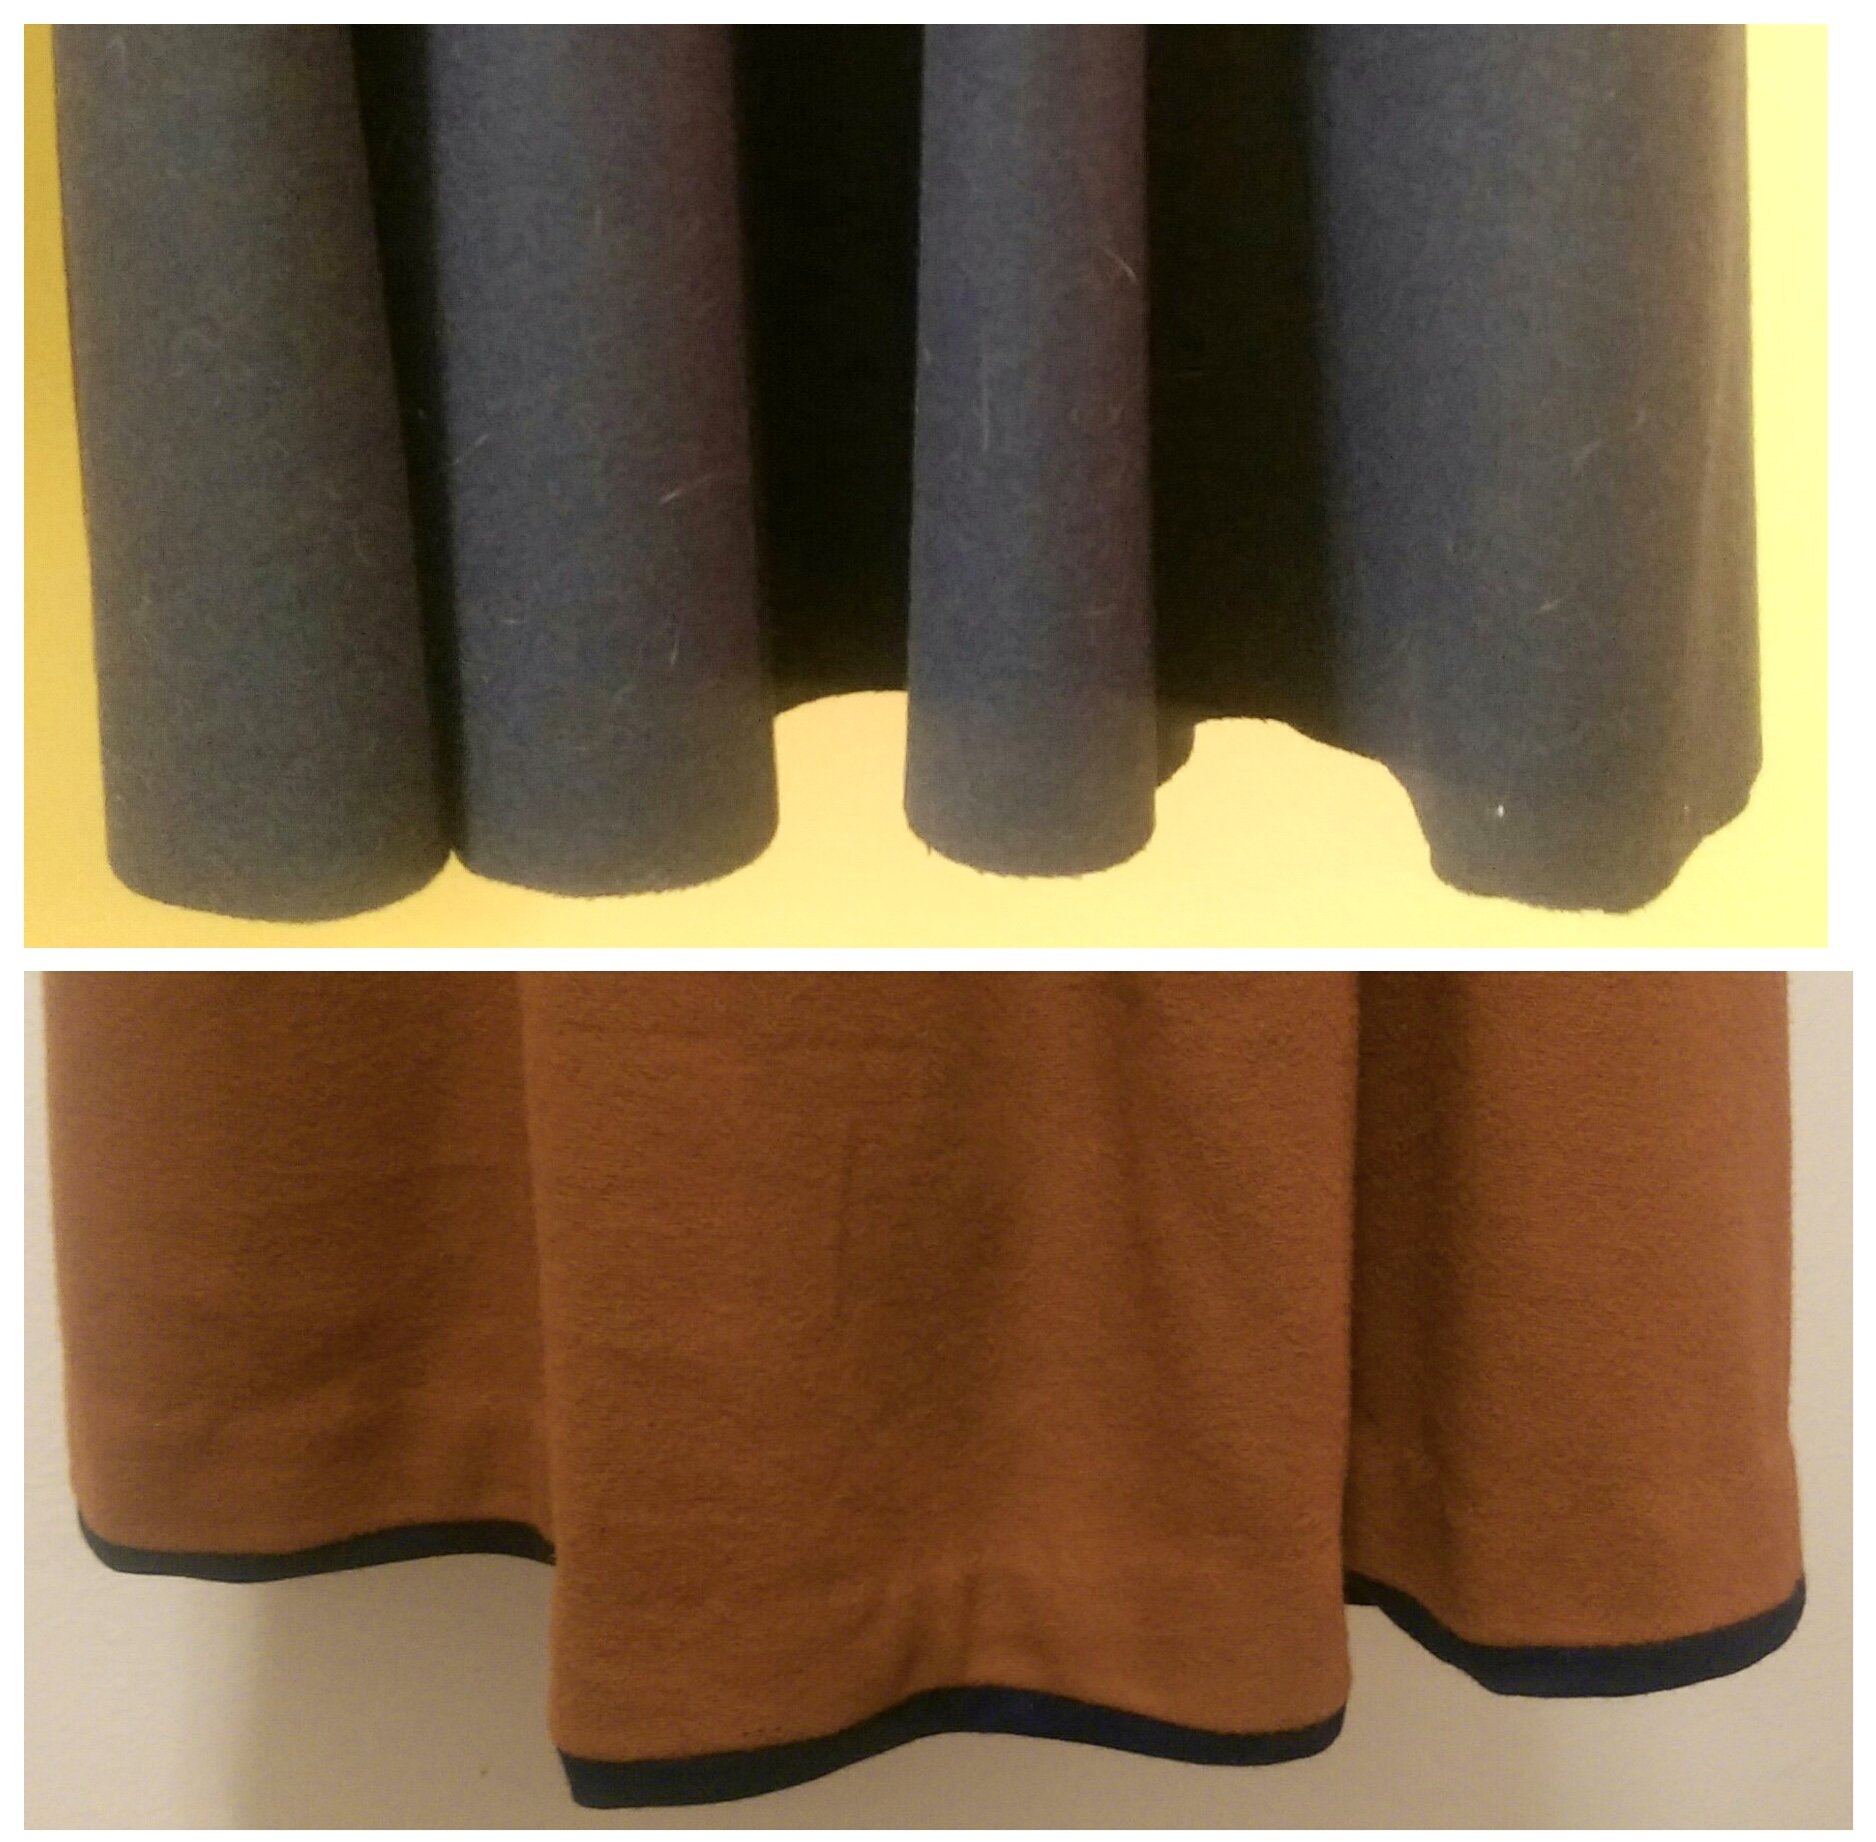
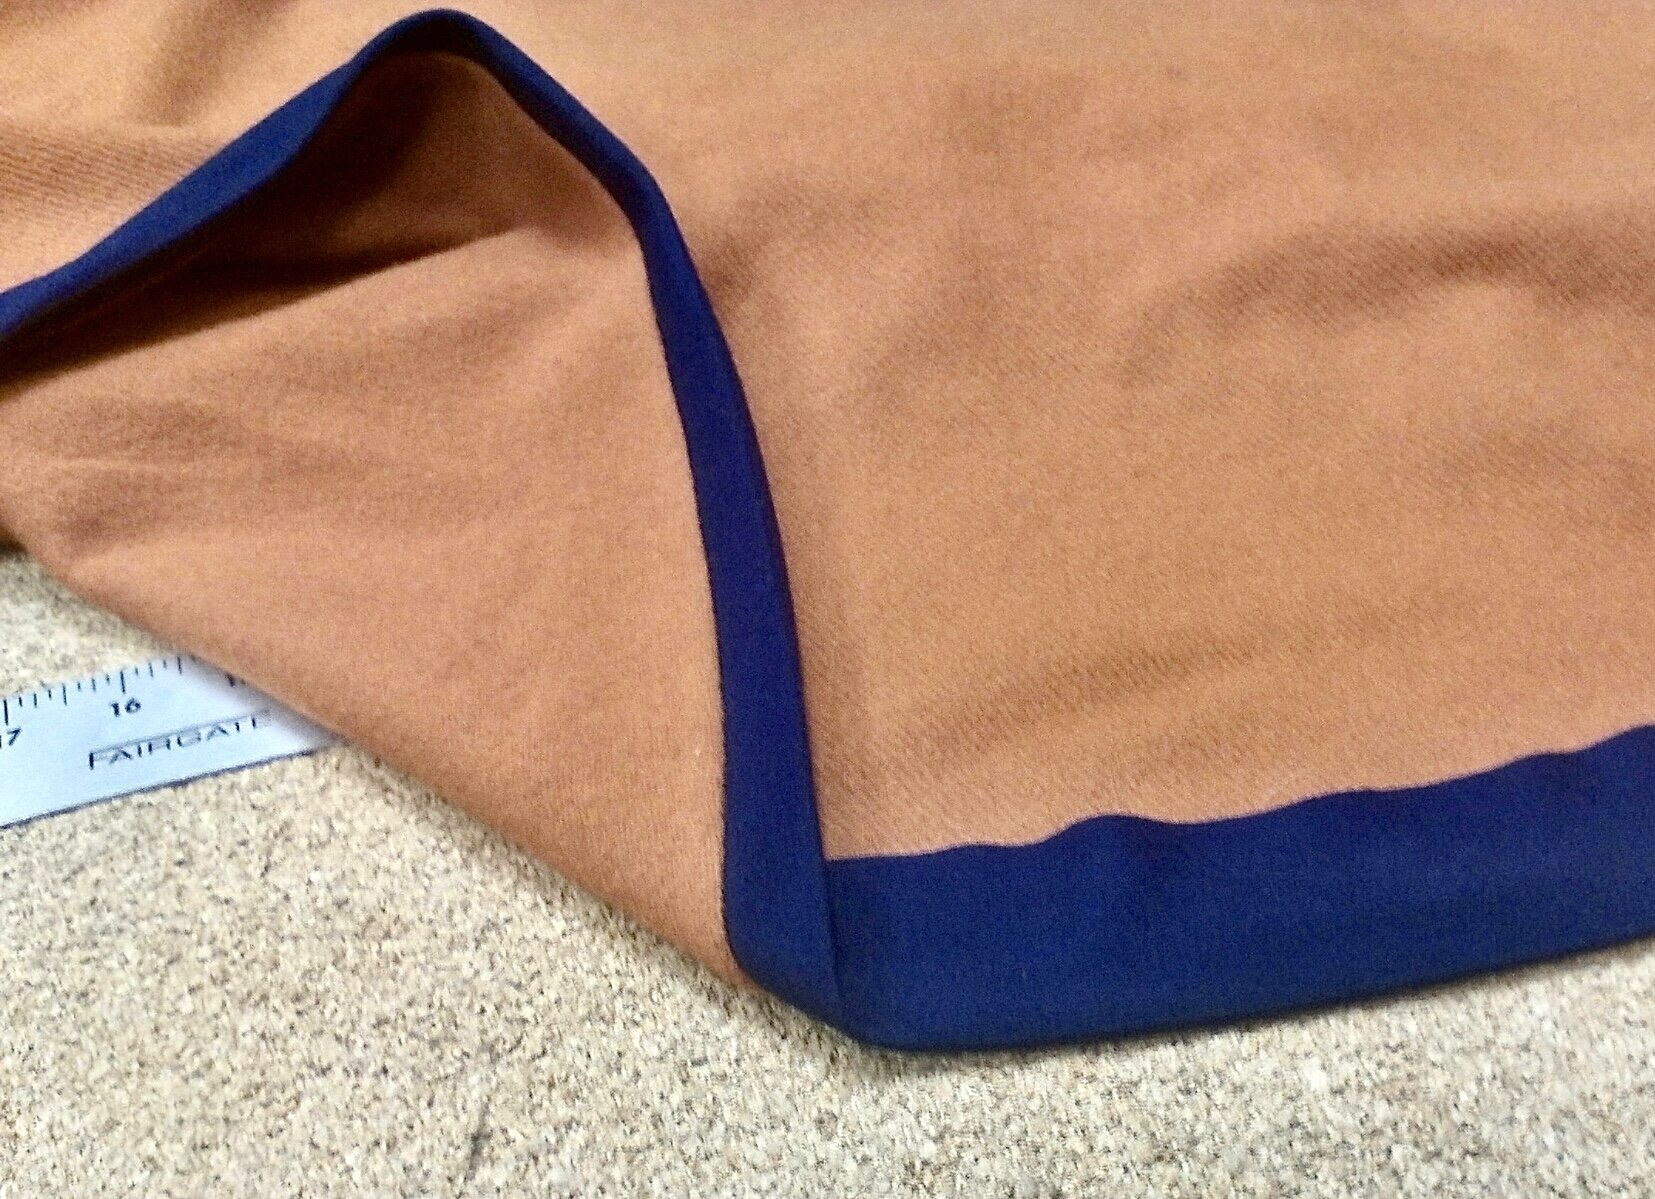
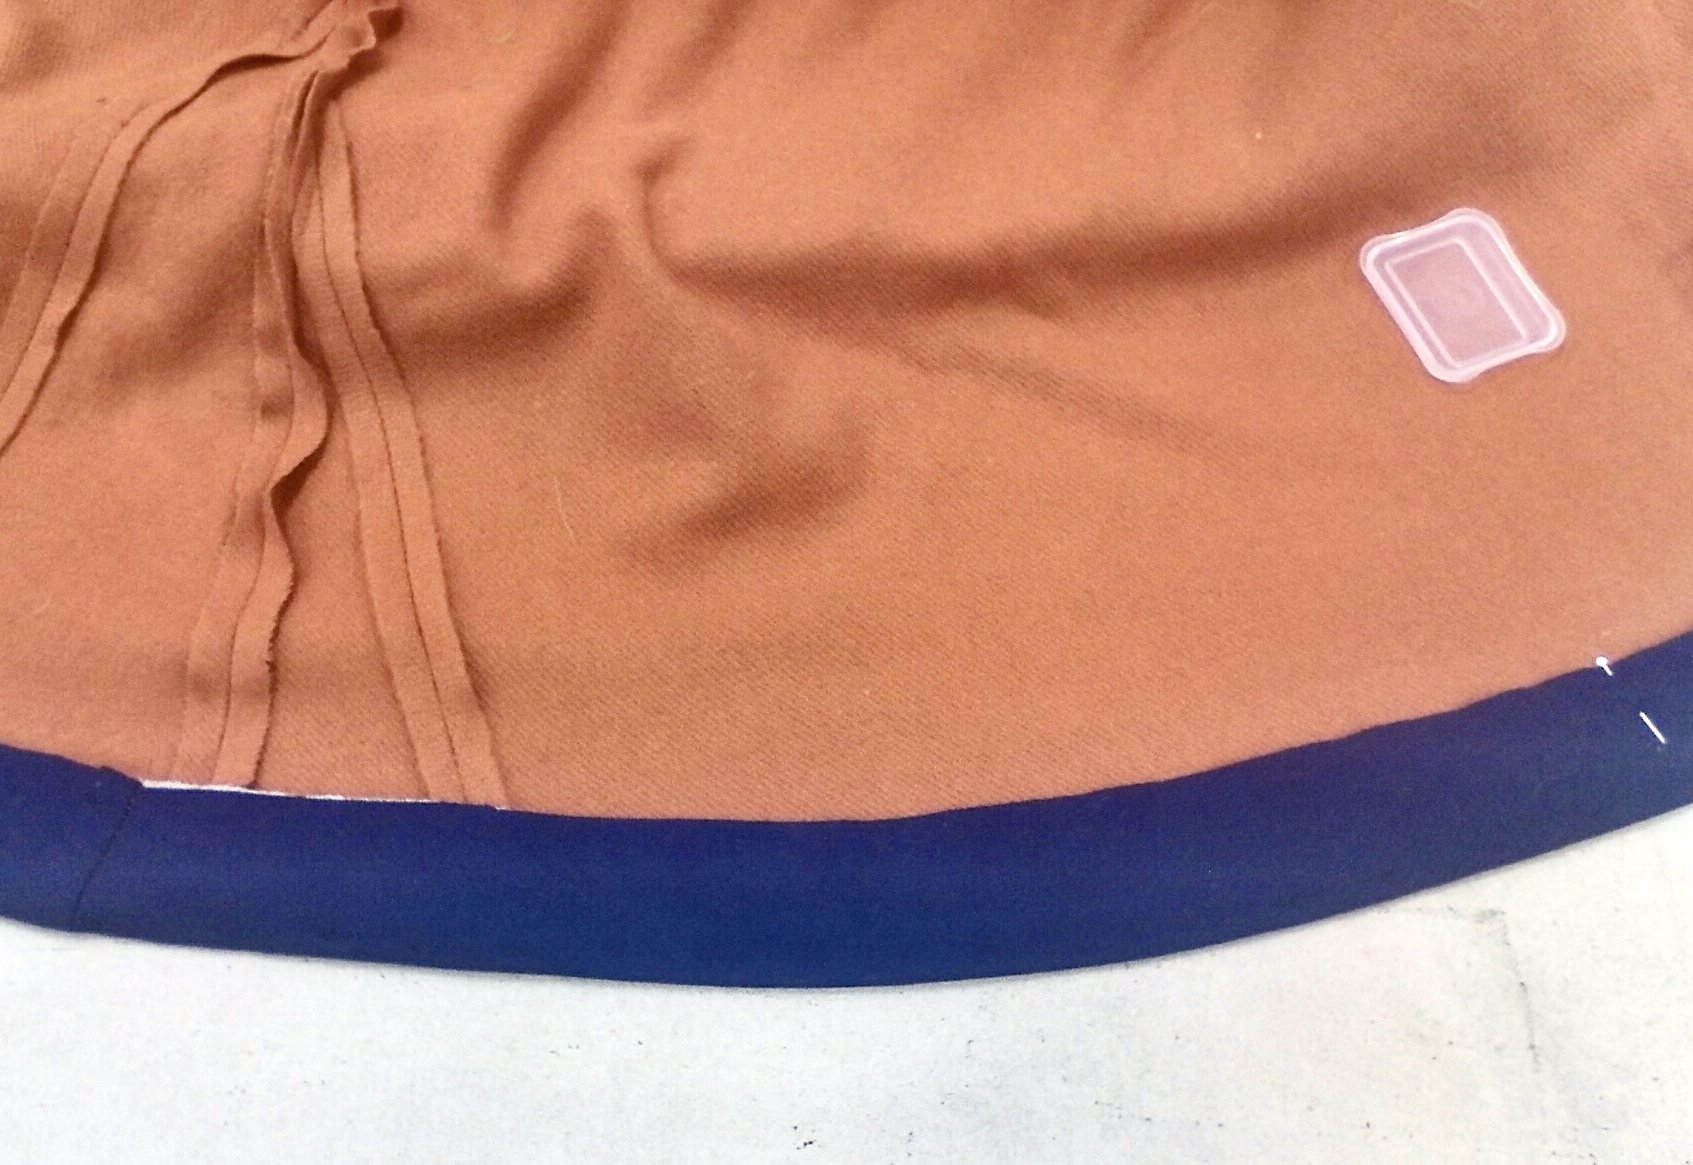
So, I started experimenting for myself and the results are striking. The folds of the hem push out more and the skirt moves beautifully when you walk. Sure, it takes a little bit longer, but in my book, the extra time is well worth it. Take a look at this comparison of a skirt without a padded hem (blue) and one with (orange).
So…how do you do it? It’s pretty easy really.
Step one: Decide on the dimension of your hem facing strip.
I have found that a final height of 1.5 to 2 inches works very well. Next, decide how much of the facing you want to show at the bottom. I think anywhere between 1/4-1 inch is a good amount. Add it all together to get the height of the strips you will cut… and don’t forget seam allowance.
For this particular skirt, I chose to have a 2 inch finished width plus a 1/2 inch (double this amount) showing and 1/2 inch seam allowance. Since the facing is a wool felt, I decided to eliminate some bulk by not folding over the top edge of the facing. For fabrics requiring a fold over, make sure to add the hem allowance in. So, I need to cut out strips of facing the length of my hem and a height of 3 1/2 inches. Now, to figure out the interfacing height, just subtract the amount of the facing that is showing at the bottom from the final facing height. So, the interfacing will be cut 3 inches in height. If I had added a seam allowance for the fold over at the top of the hem facing, then I would subtract that as well.
Step 2: Cut out the facing and the interfacing strips.
I prefer to cut these on the bias as it takes a lot less effort going around the curves of the skirt hem. For this, I used a blue wool flannel and a natural canvas linen. I have tried scraps of wool felt, flannel and the linen canvas and so far the linen canvas is my favorite. I cut both on the bias.
For the facing, the strips will need to be sewn together to make a continuous facing strip and then the seams pressed open.
Step 3: Stitch the facing strip to the bottom of the skirt.
I typically use a half inch seam allowance. This is done with a running stitch, or with a straight machine stitch.
Press the seam allowances upward.
At this point, it is advisable on most fabrics to stitch the seam allowances down with a running stitch or a prick stitch.
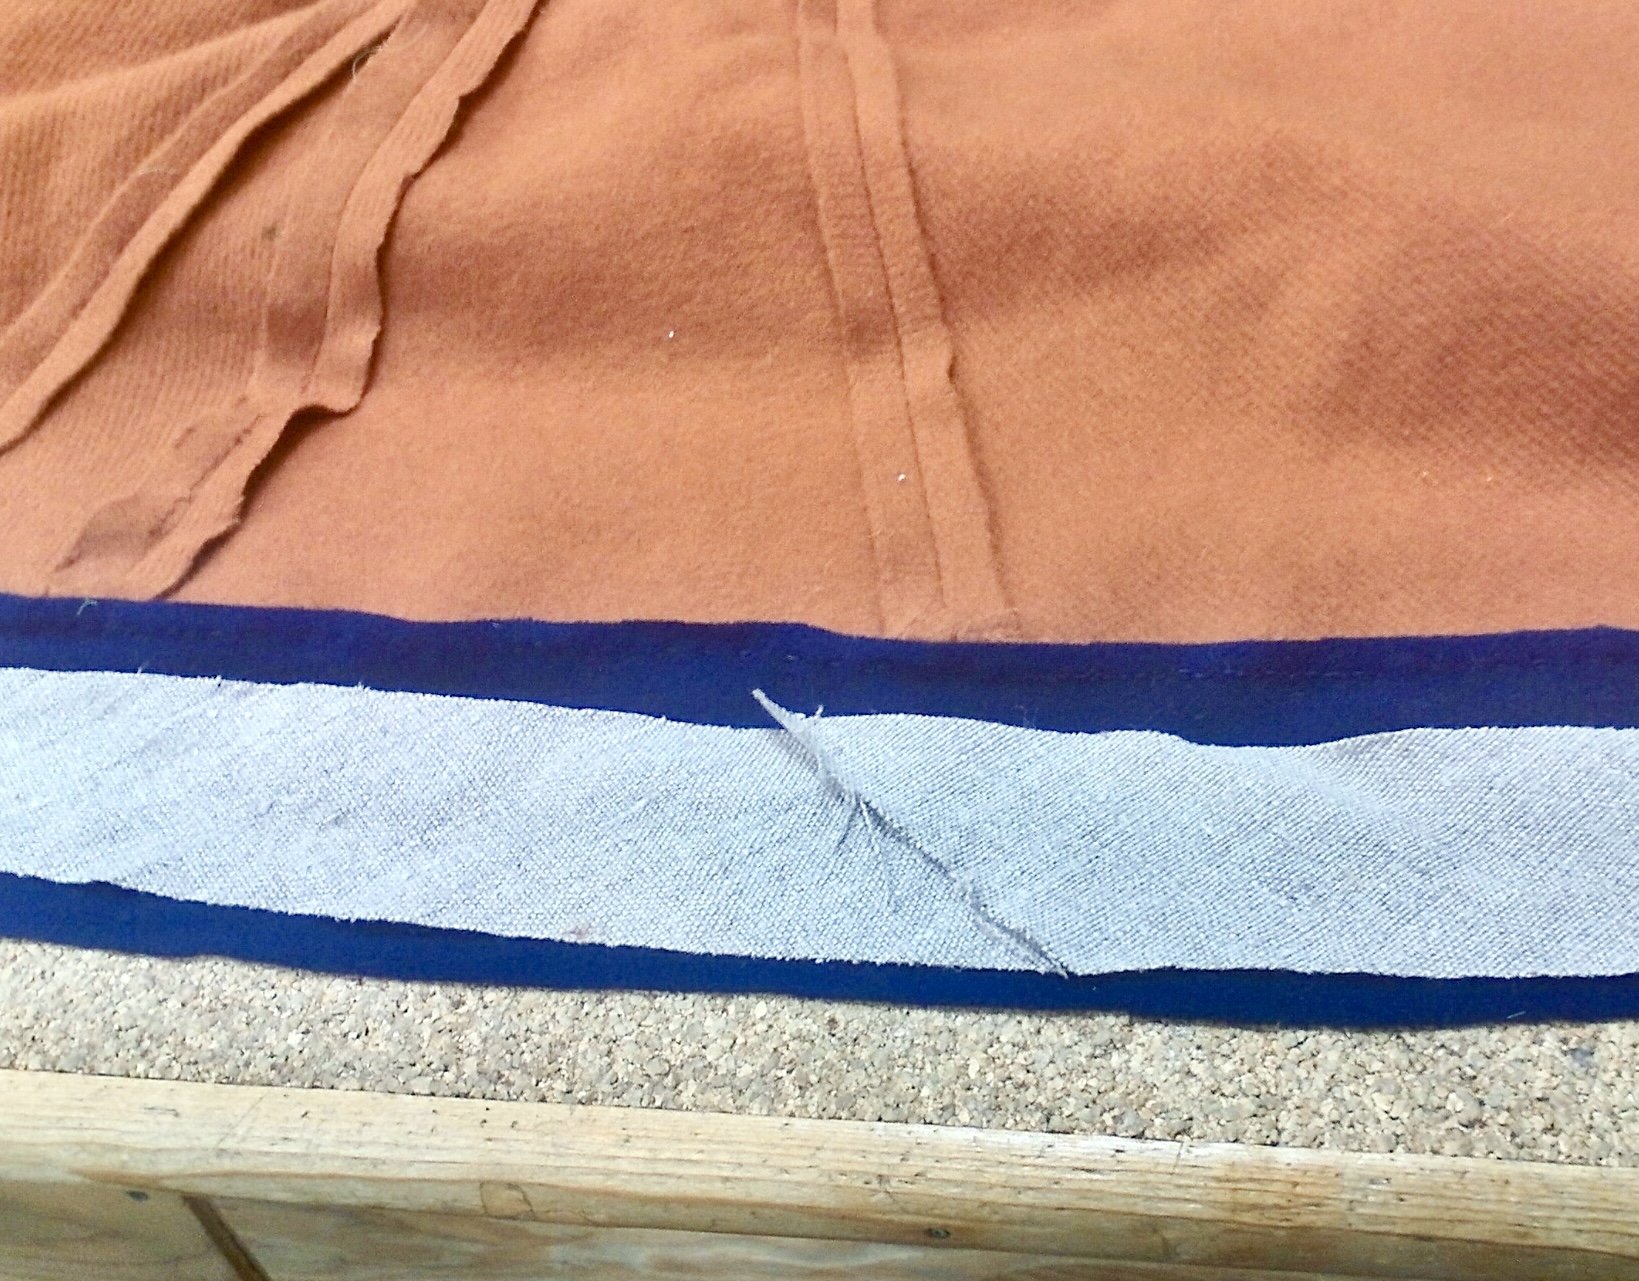
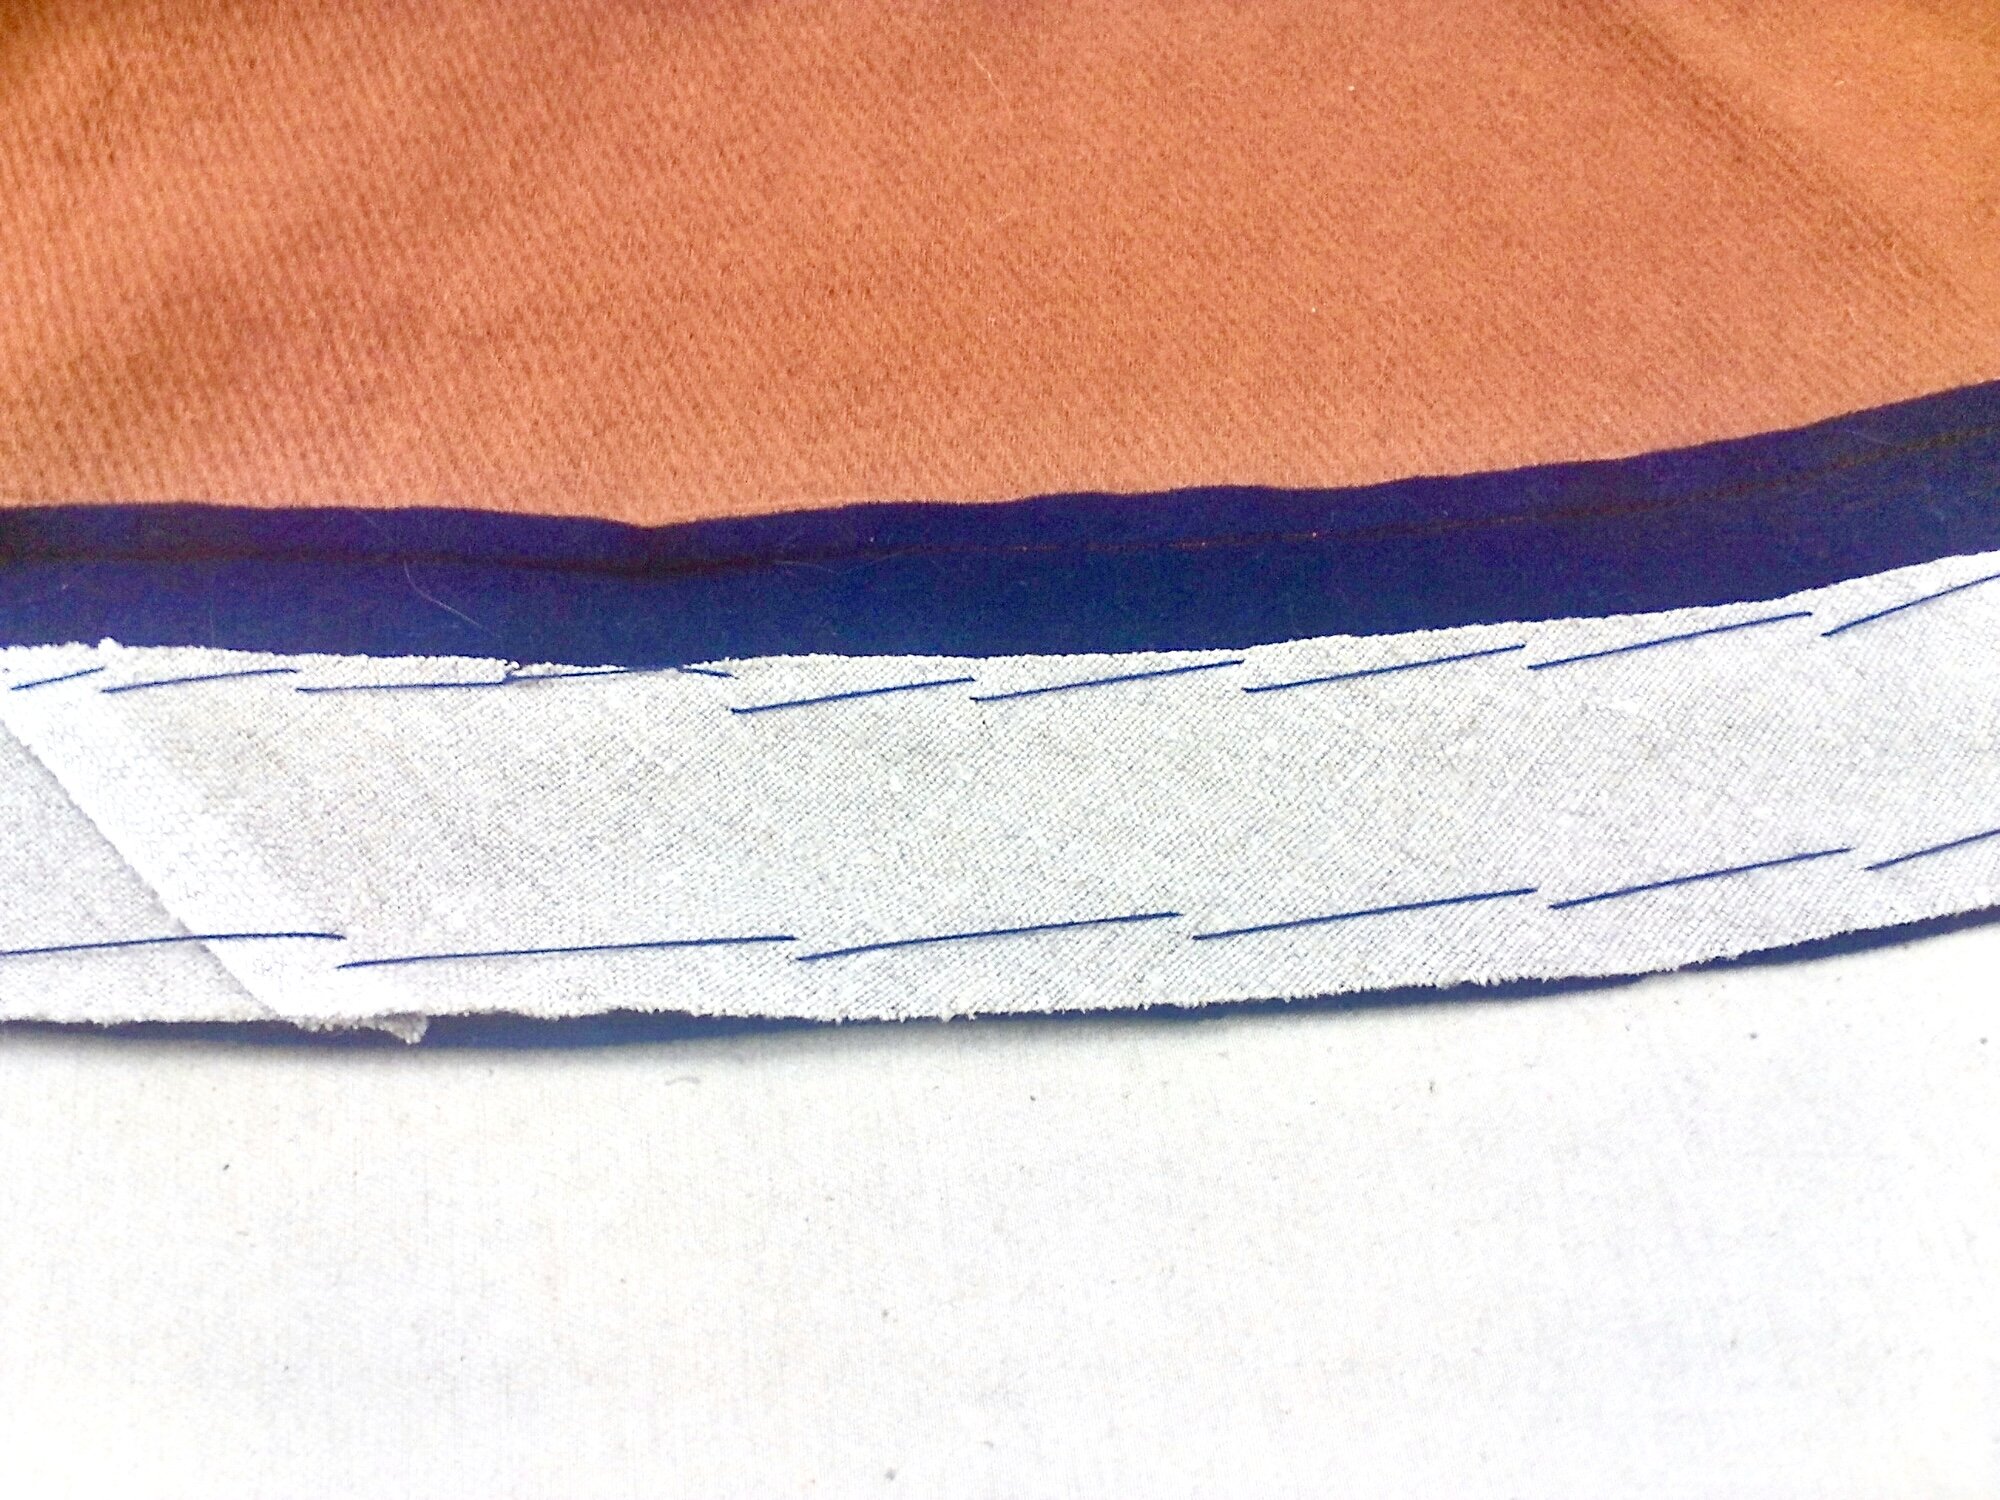
Step 4: Mark the placement of the fold.
For this one, it is the half inch that I decided in the first step would be showing, so I measure this downward from the seam line and mark it with chalk. Then, fold the facing up and pin in place.
You will most likely end up with some wrinkling near the top edge of the facing. This is due to the conical shape of the skirt, and is easily remedied by pressing and shrinking it out with steam when you press the folded edge.
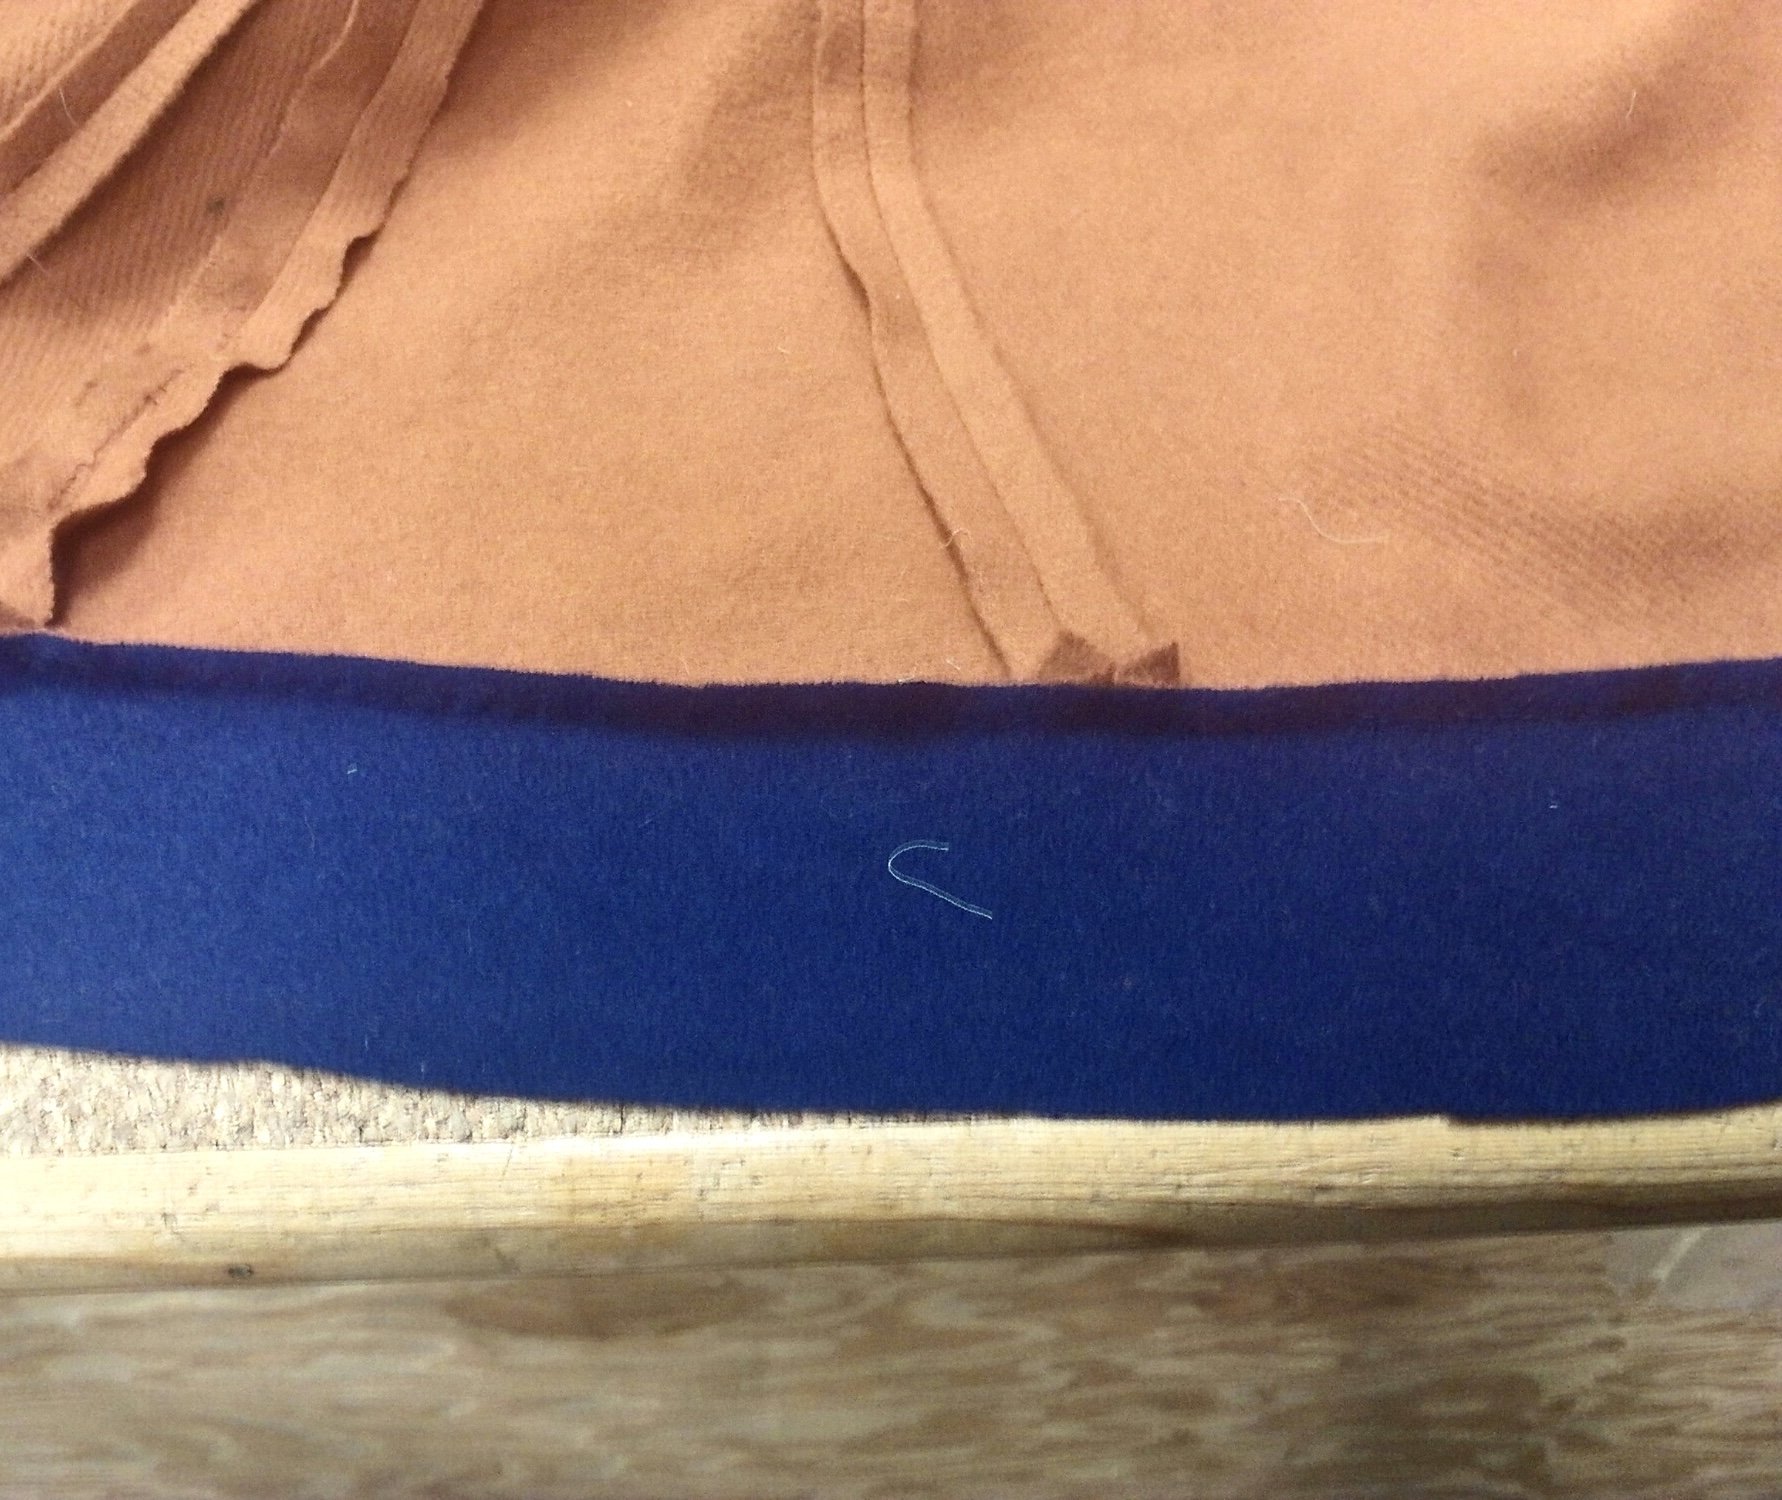
Step 5: Place the interfacing.
With the facing unfolded, lay in the pieces of interfacing. I don’t bother to stitch the interfacing edges together, since they will be enclosed inside the facing. Instead, I just give them a slight overlap. They are first pinned in place, then I go through and use tailor basting to hold them in place.
Step 6: Fold the facing back up into place and stitch down.
For this I used a whip stitch, but you can use any stitch appropriate for a hem.
Give the hem one more light pressing and you are good to go!
You’ll look like you stepped straight out of a portrait!
**Note: this tutorial was originally published on Lalena’s personal blog, Adelheit’s Workshop.